So, there have been a number of forum members wishing to get involved in the scanlating process, whether out of a simple love of hentai or to make some quick E-H money. I put up an editing guide about a year ago, but that's out of date and some images are dead, and I can't be bothered to find them again. So, here's a brand-new guide!
Now, a disclaimer: I an not an expert, and there are many editors out there who are better than me. However, I do consider myself competent enough. If you follow this guide, it will bring you up to my level, which should be enough for you to start taking editing bounties.
This guide is primarily aimed at GIMP users. Photoshop users can go DIAF (IMG:[
invalid]
style_emoticons/default/laugh.gif) Seriously though, the principles I discuss should be the same for any editing program that uses layers, so Photoshop, GIMP, and Paint.NET are all fine. Don't use MSPaint, it's way too basic for the things an editor has to do.
Okay, enough talk, let's get to editing!
CleaningThe first step to editing is cleaning. This is mainly fixing up the page so that it looks nice. If you're working with a new doujinshi or manga that's been scanned nicely, there's very little to do, and you can skip this step. Often however, a doujinshi has been scanned improperly, and there's a lot of stuff you need to do to make it look presentable. Let's take this for example.
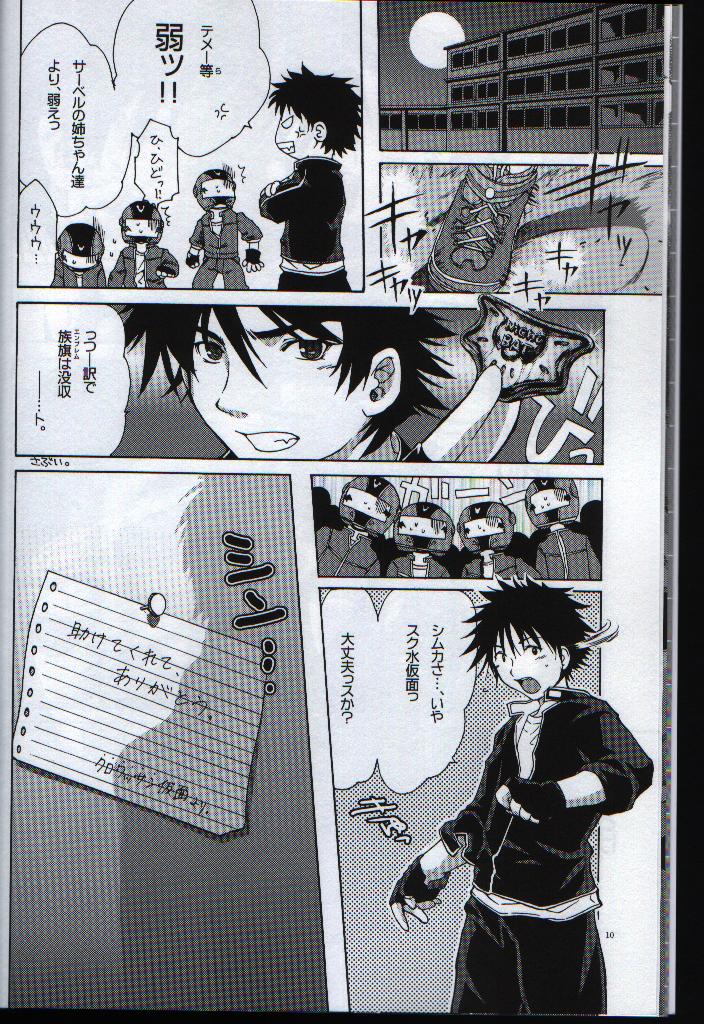
Horrible isn't it? The image is crooked, there's a gray cast, and you can see the edges of the scanned page. But, it's not hopeless, so let's fix this up.
LevelingThe first and most essential step of cleaning is leveling. This basically means to adjust the tones so that parts meant to be white are white and parts meant to be black are black. In GIMP, you open Colors > Levels to get this dialogue box:
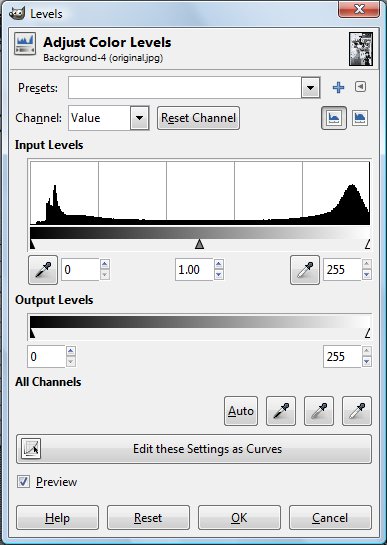
The easiest way to level is to use the eyedroppers. Click on the black eyedropper and then click anywhere on the image that you think should be black, and then click on the white eyedropper and then click anywhere on the image that you think should be white. I usually use the input eyedroppers, I'm not sure what would happen if you use the output ones. Anyway, I choose Ikki's hair to be black and the text bubbles to be white, and I get this:
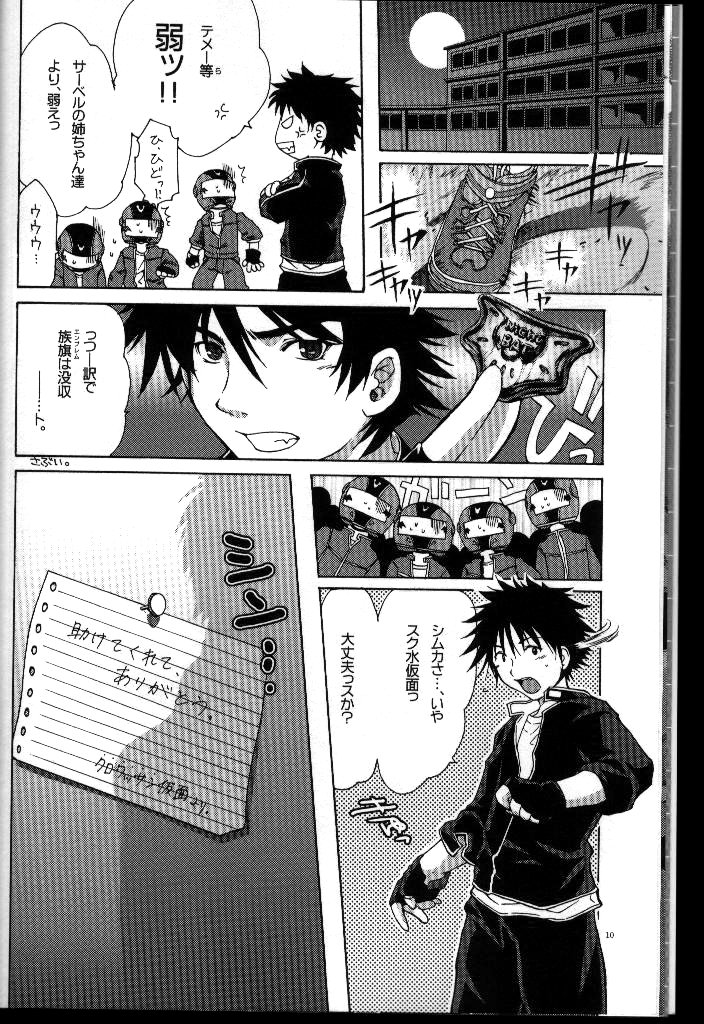
It's not perfect, the margin is still gray and there are specks in the text bubbles. That's okay though, you don't want to overlevel and start losing details of the image. You fix the gray parts manually by filling them with white and using the eraser. The fill button is the bucket in the toolbox.

Change the foreground color to white, and adjust the threshold if you want, maybe to 10. I don't care and leave it at 15. Then, fill in the text bubbles and margin to get this:
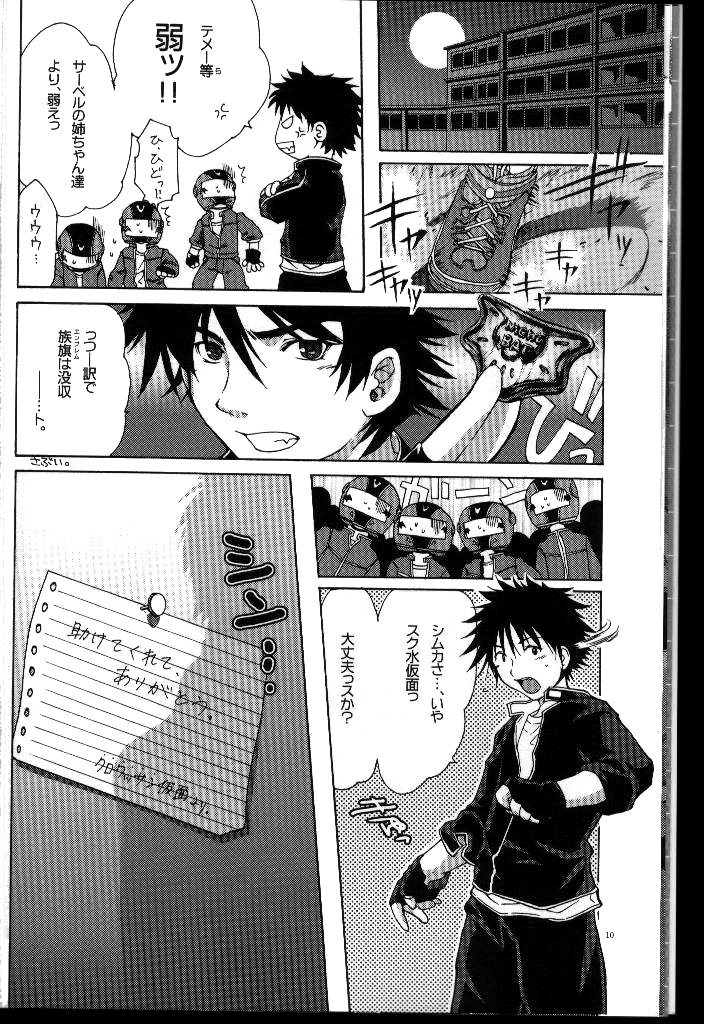
The eraser button is the one with the pink obloid.

Adjust the brush size and get rid of the last few specks on the margin to get this:
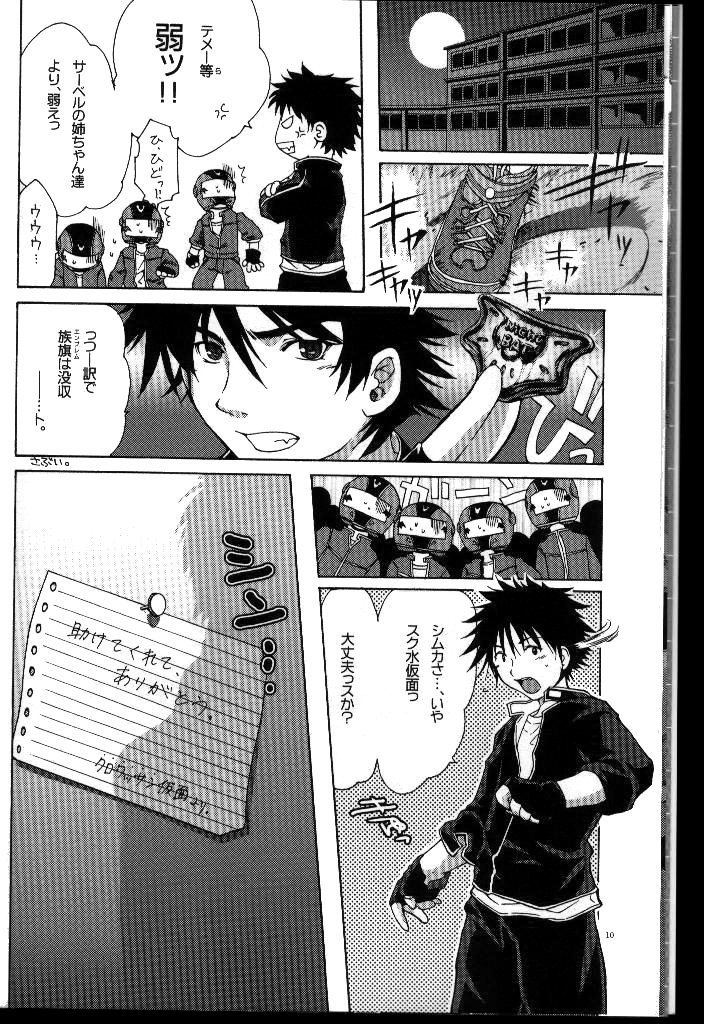
Okay that's it for leveling. The image now looks nice and crisp, but it's still crooked and has those godawful edges on the sides.
StraighteningLet's straighten the image now. First we have to find how crooked the image is. For that, we use the measure tool, which is the compass in the tool box.

Now, select a line that you think is straight. click on the line, and then drag-click on another part of the line. The measure tool should then tell you the distance and angle between the two points. I do so for the vertical line running parallel to the left margin and get an angle of 89.29 deg, so the image is off by about 0.7 deg. Now I open the Rotate dialog box (Tools > Transform Tools > Rotate):
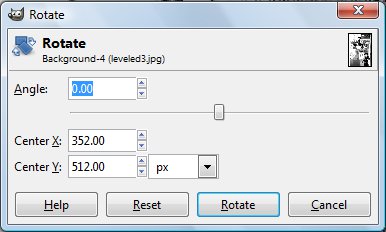
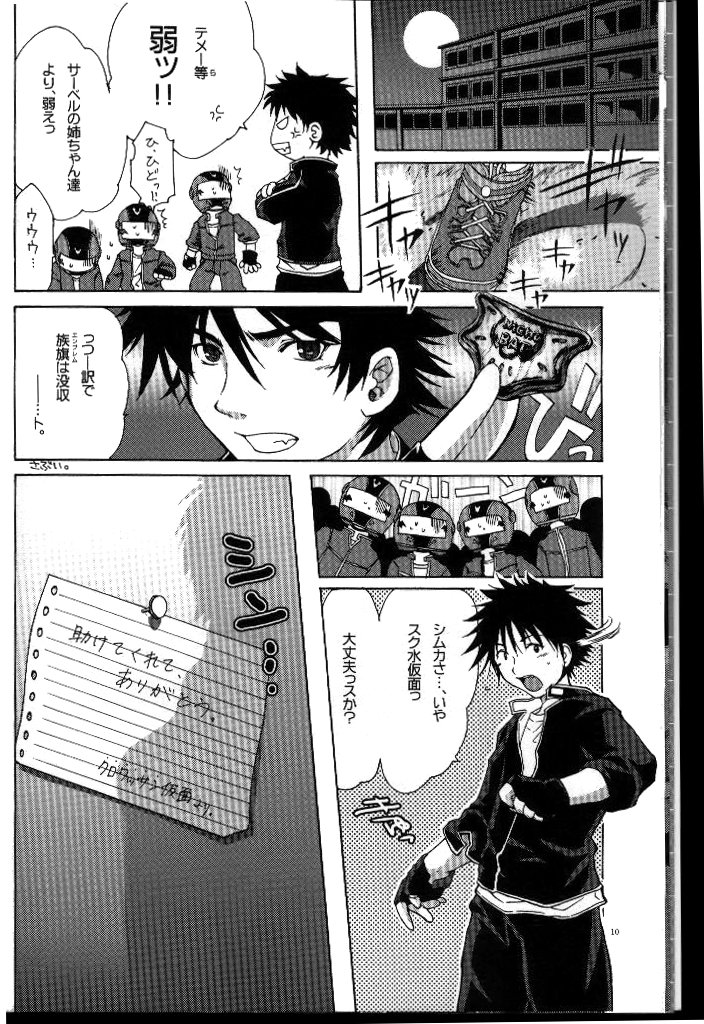
I rotate the image by -0.7 deg (I have to rotate it counterclockwise) to get this:
 Cropping
Now let's get rid of the unsightly edges. For this we use the cropping tool, which is the rectangular marquee button in the toolbox.

Carefully select the image so that the edges are outside the marquee box, and then crop the selection (Image > Crop to Selection):
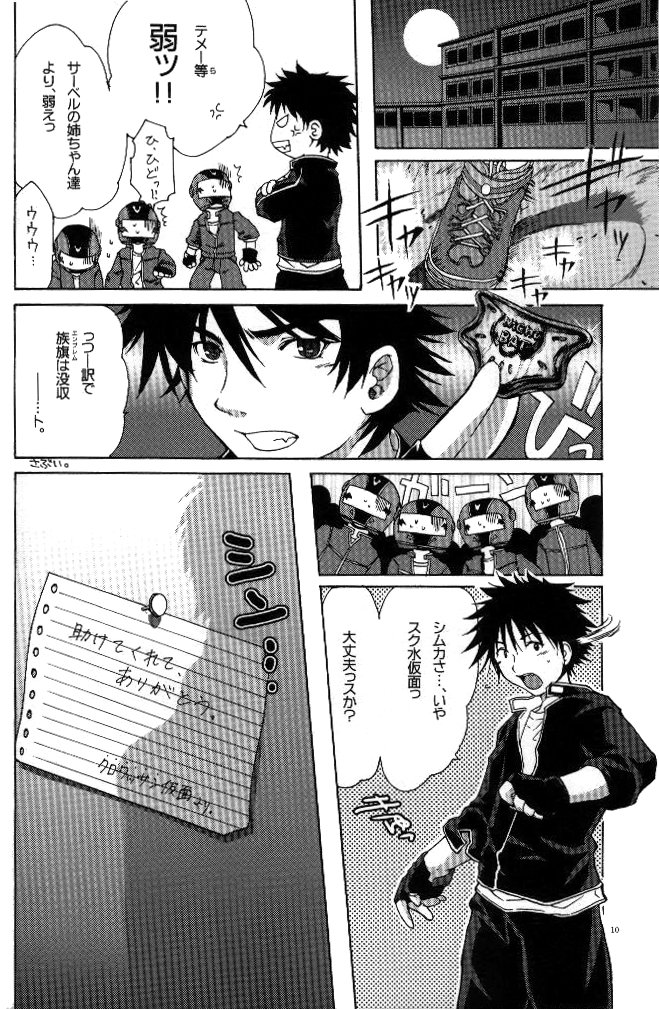
You're going to lop off some parts of the actual art, but that can't be helped.
ResizingNow, the image is pretty much ready, but I decide to be anal and I want all the images in the doujinshi (after all, I'm not going to be editing only a single page) to be the same size. The image is currently 659 x 1009 pixels; I decide (totally arbitrarily) that I want all images to be 660 x 1000 pixels. First, I resize the image so that the height is 1000 pixels by opening the Scale Image dialog box (Image > Scale Image).
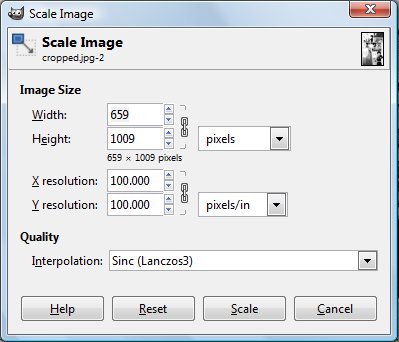
I change the height to 1000 pixels, and the new dimensions of the image are now 653 x 1000 pixels.
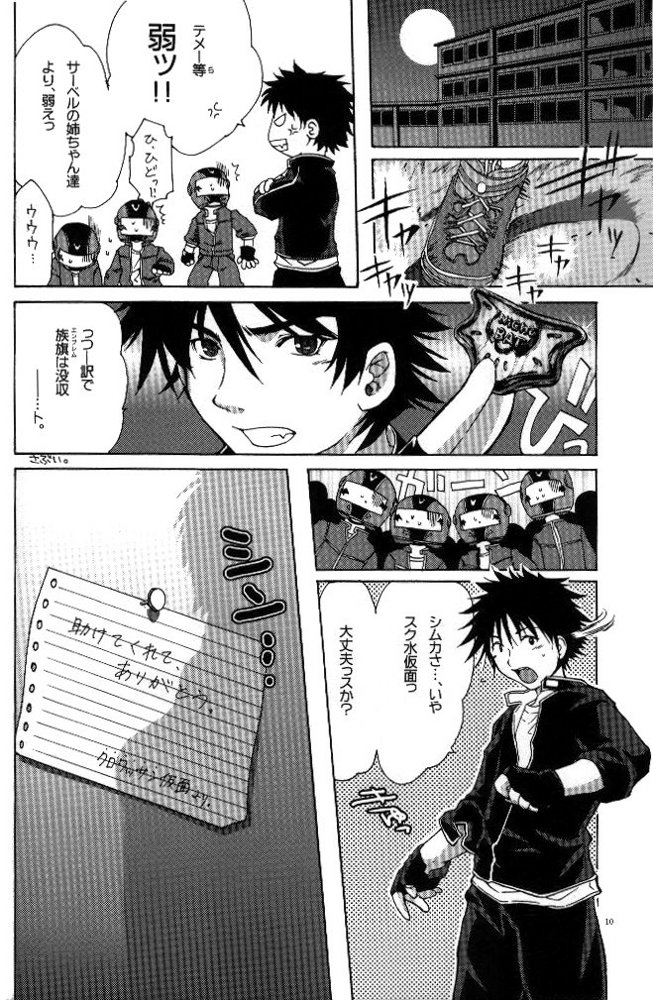
Now, how do I get the width from 653 pixels to 660? Scaling the image up is generally a bad idea, so how do you increase the width? Well, there's a white space on the left margin. No one cares if I add some extra space there right? So, I open the Canvas Size dialog box (Image > Canvas Size...).
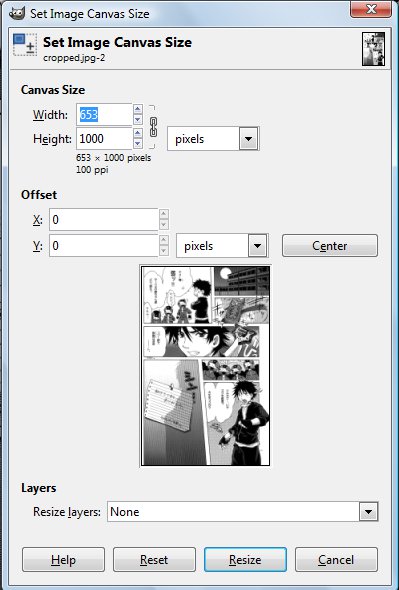
I click on the chain button to unlink the height and width, and then change the width to 660 pixels. I adjust the offset so that the extra space will appear on the left side of the image. I click OK, and then flatten the image (Image > Flatten Image) to get this:
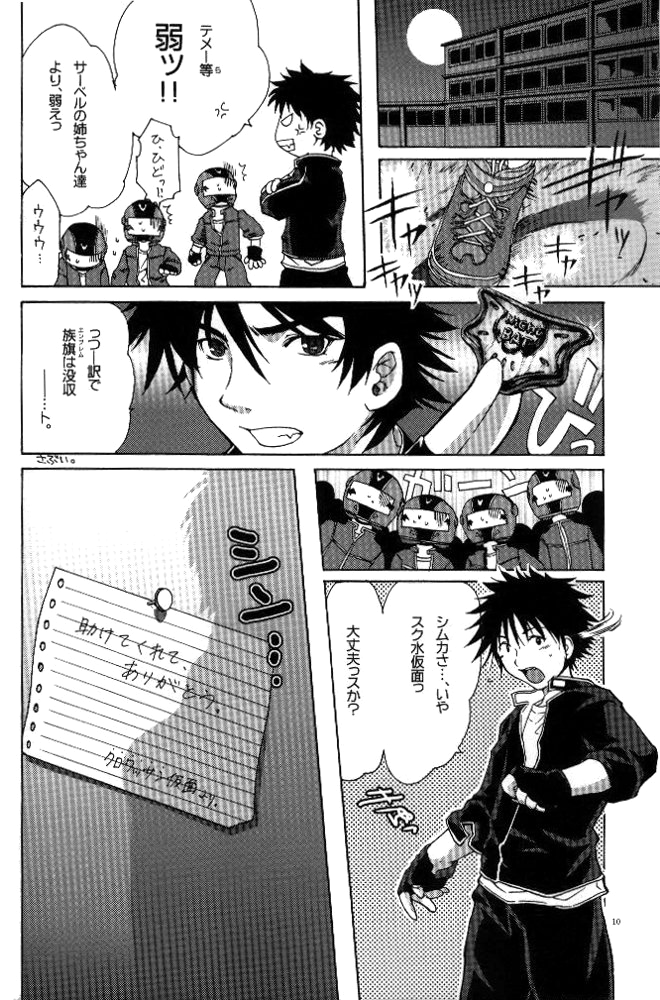
There, the page has now been cleaned. Obviously, not all pages are as bad as this, and you can skip some steps if you don't think they're necessary for the doujinshi you're editing. However, the process I've detailed above should let you handle all but the worst scans.
This post has been edited by rookie84: Mar 9 2012, 16:39